

Mastering the EZLYNK cloud
Welcome to EZCAL.LYNK.NET! This guide will walk you through the essential steps to upload your purchased calibration files to the EZLYNK cloud and deploy them to your vehicle. Designed for DIY tuners and performance enthusiasts, we'll help you navigate the process with ease, ensuring a smooth and successful calibration every time.
Getting started: Your technician account
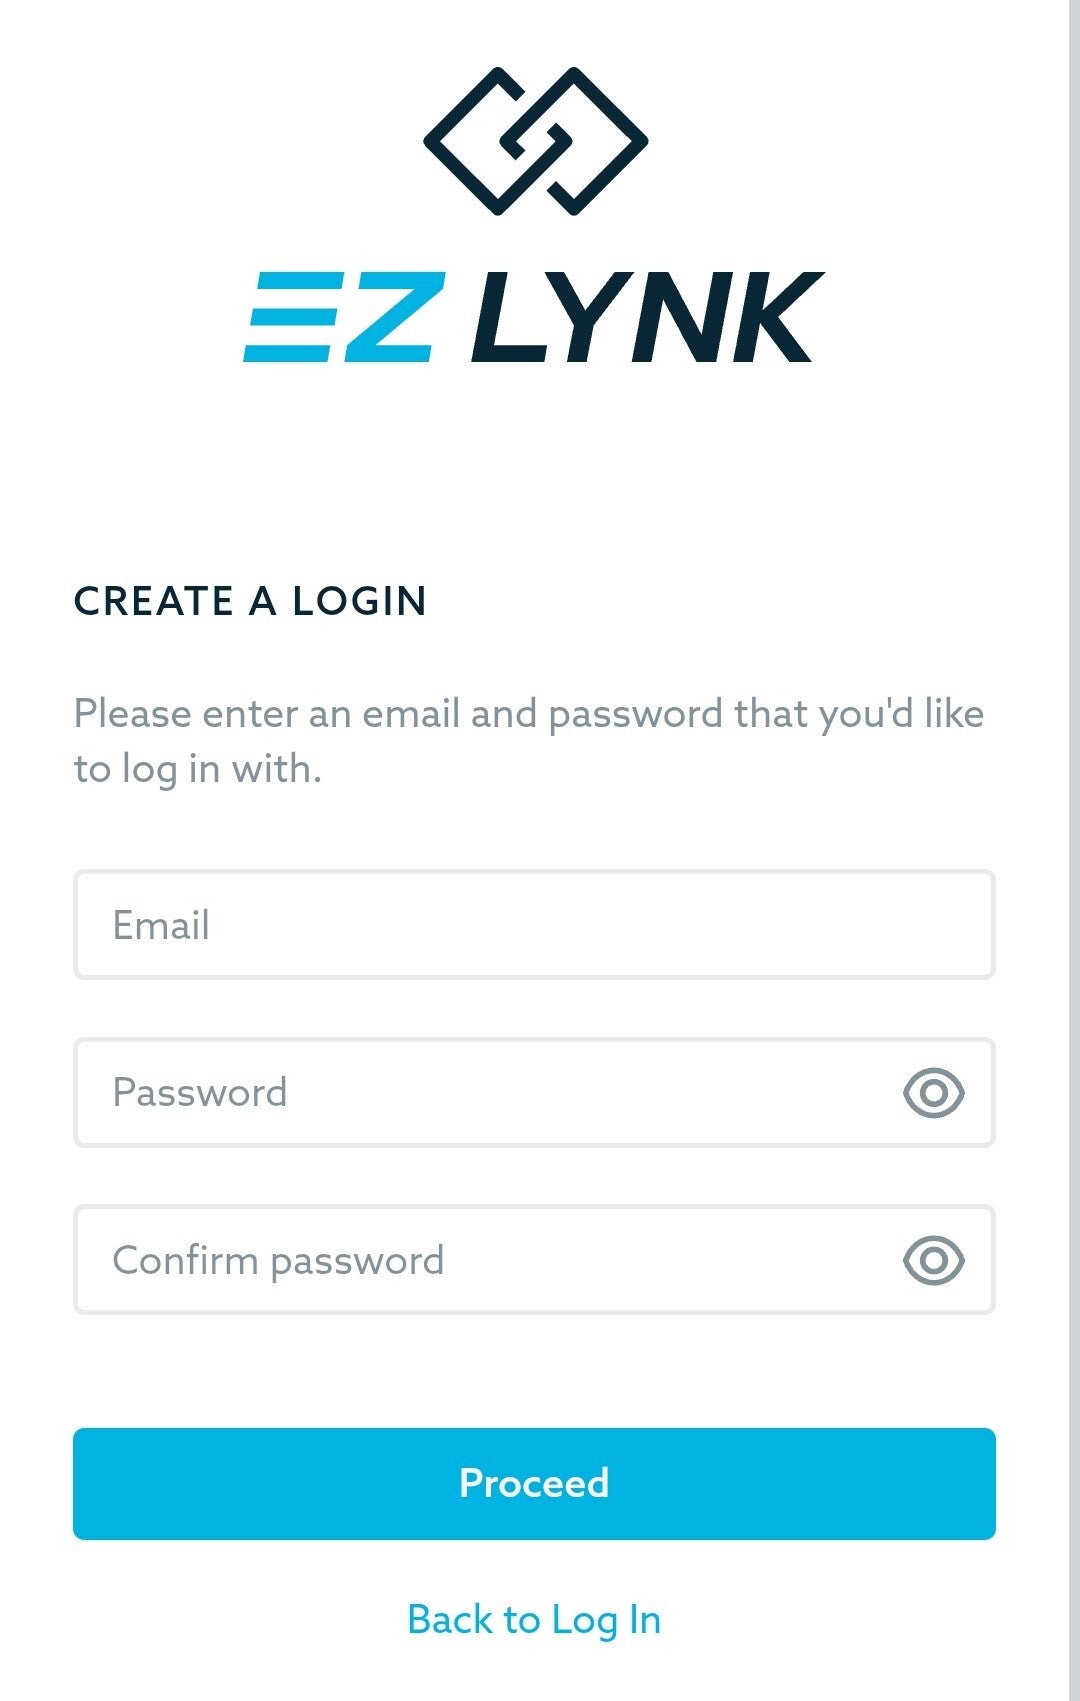
To begin uploading calibration files, you must use the EZLYNK platform as a Registered Technician. If you are not yet registered, please create an account. This step is crucial for managing your files and ensuring proper deployment to supported vehicles.
Step 1: Create a new ECU profile
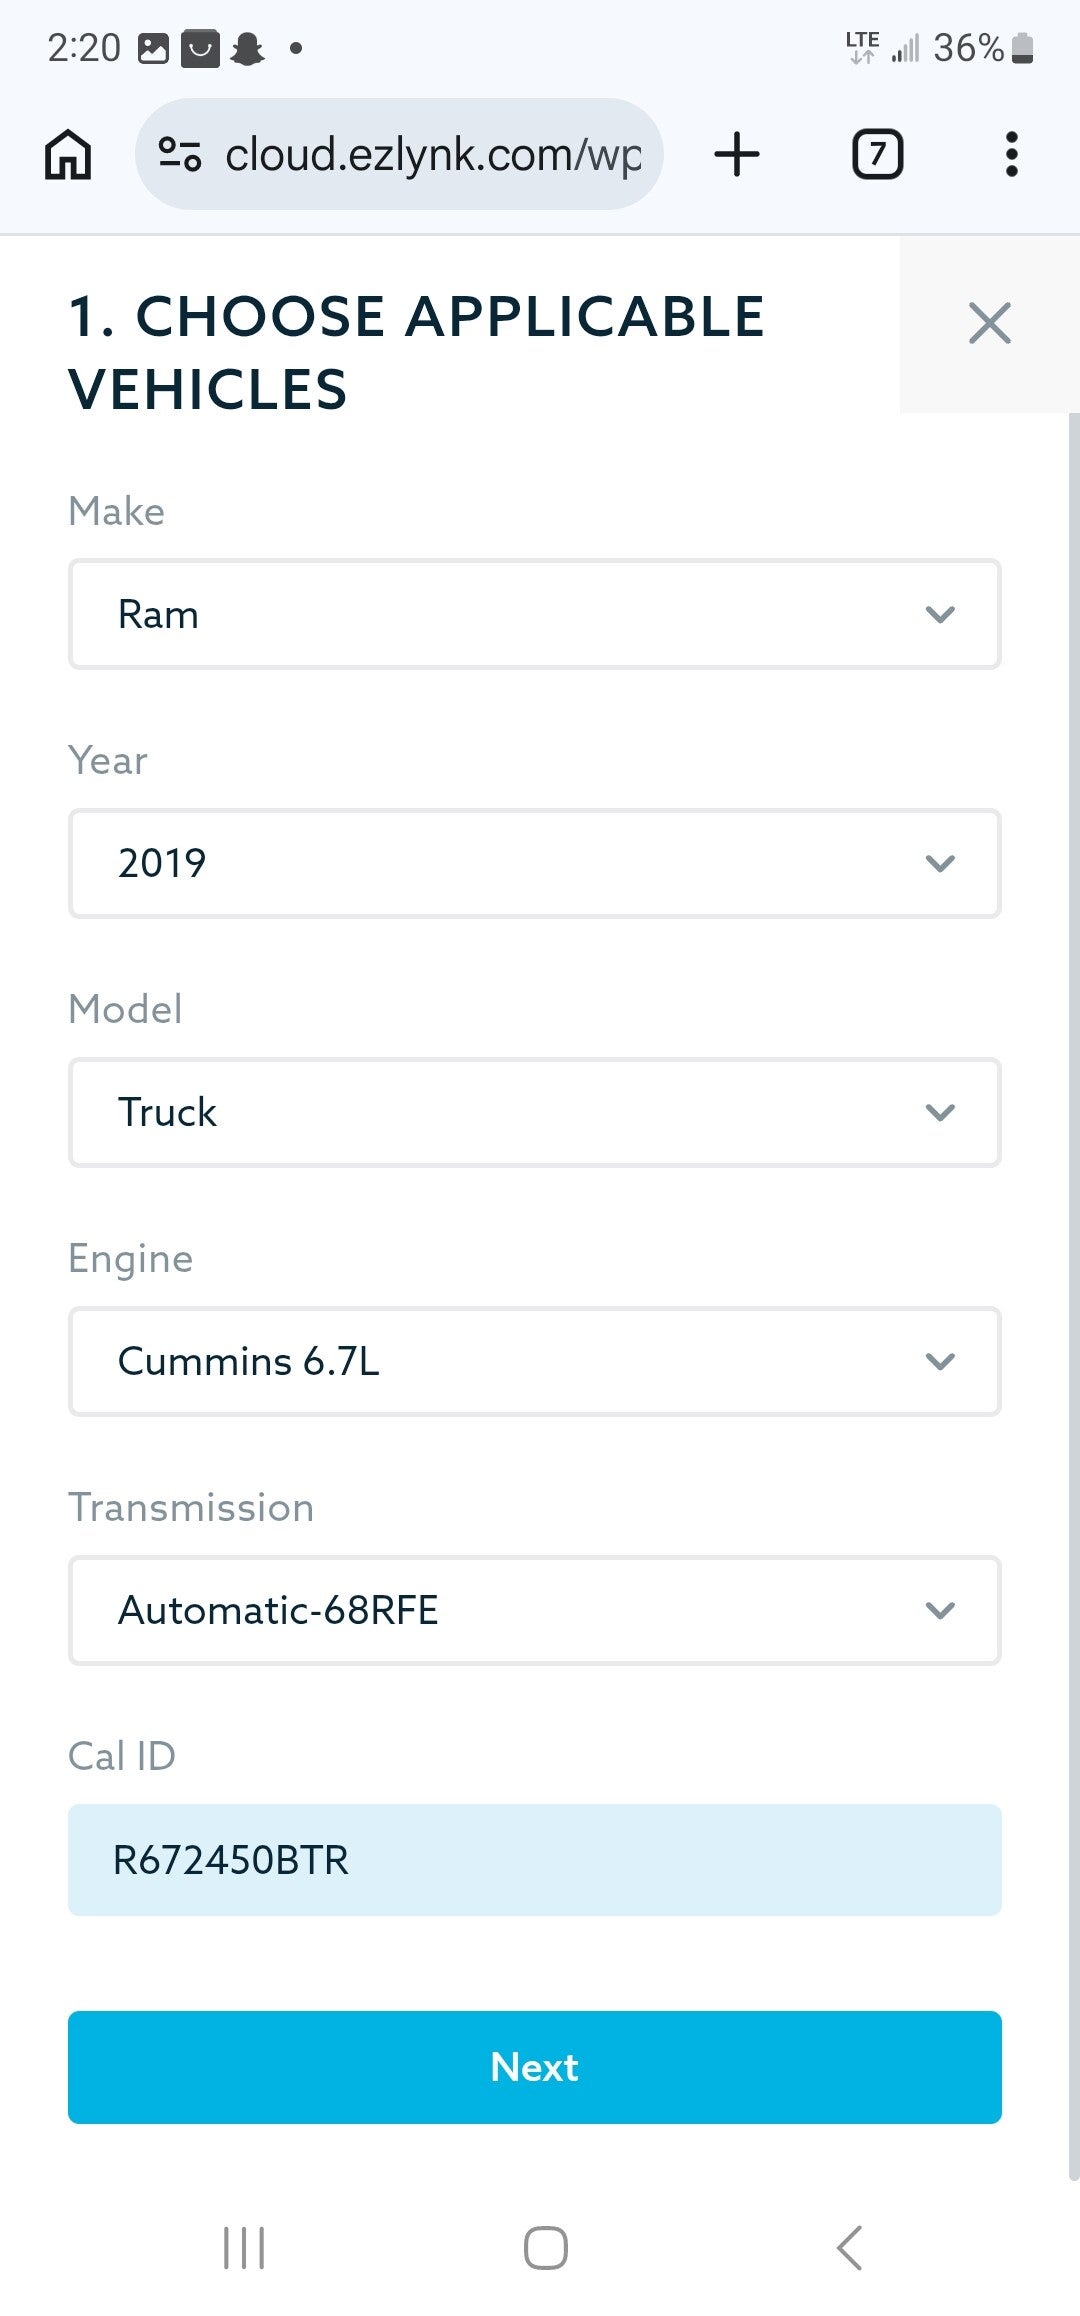
Navigate to the "ECU Profiles" tab within your EZLYNK dashboard. Here, you will select "Create New Profile." This action initiates the process of preparing your cloud for a new calibration file. Make sure to accurately select the correct vehicle for the file you intend to upload in the next steps.
Step 2: Name and save your profile
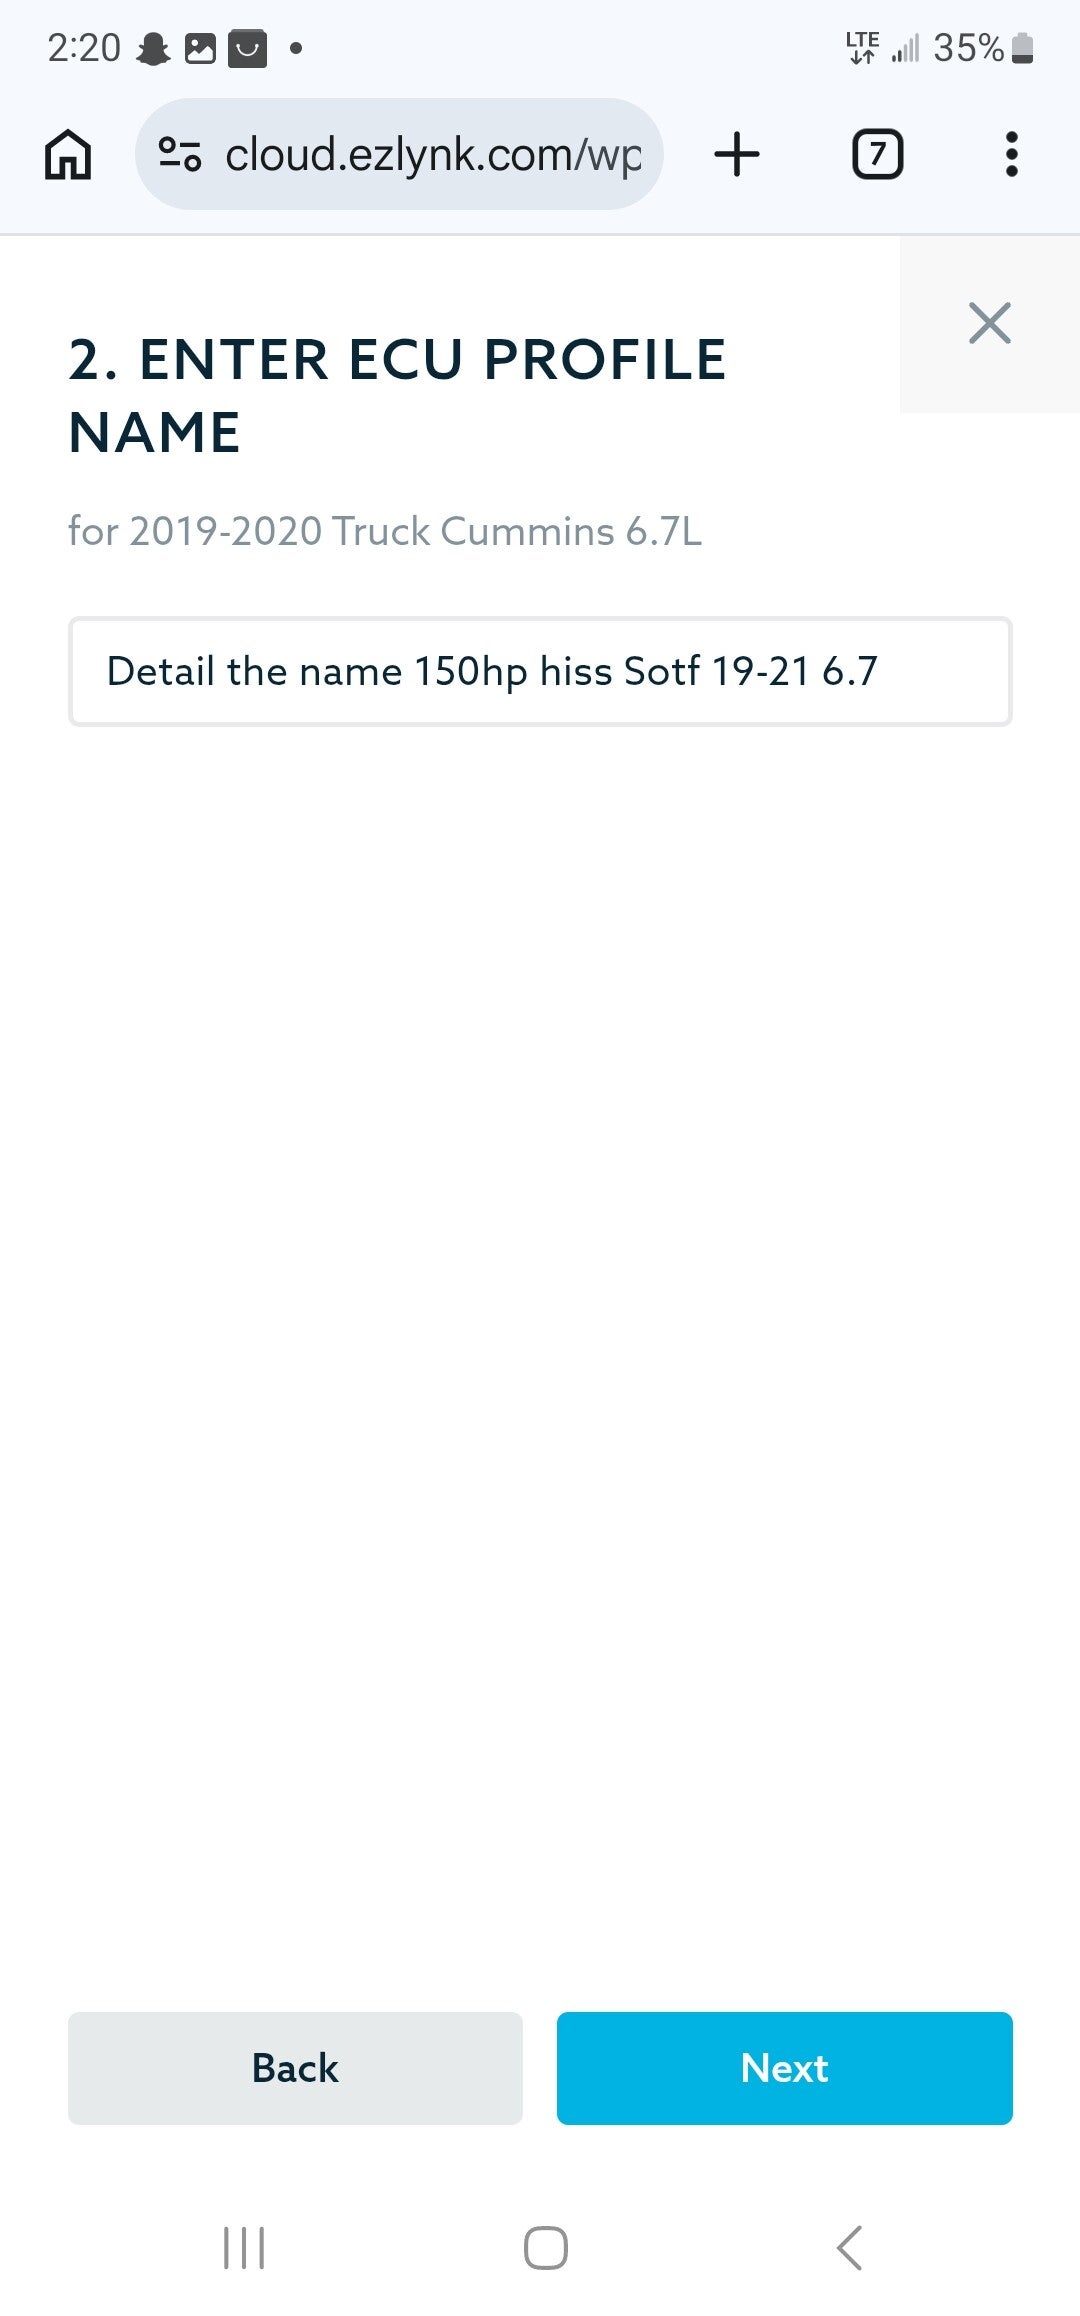
Once you've selected the correct vehicle, it's time to name your ECM profile tune. It's important to name the file clearly and descriptively. Consider adding abbreviations like SOTF for shift-on-the-fly or Trans for transmission tuning. This helps both you and your customers easily recognize the file. After naming, save and publish the file to your cloud library.
Step 3: Upload and verify your calibration
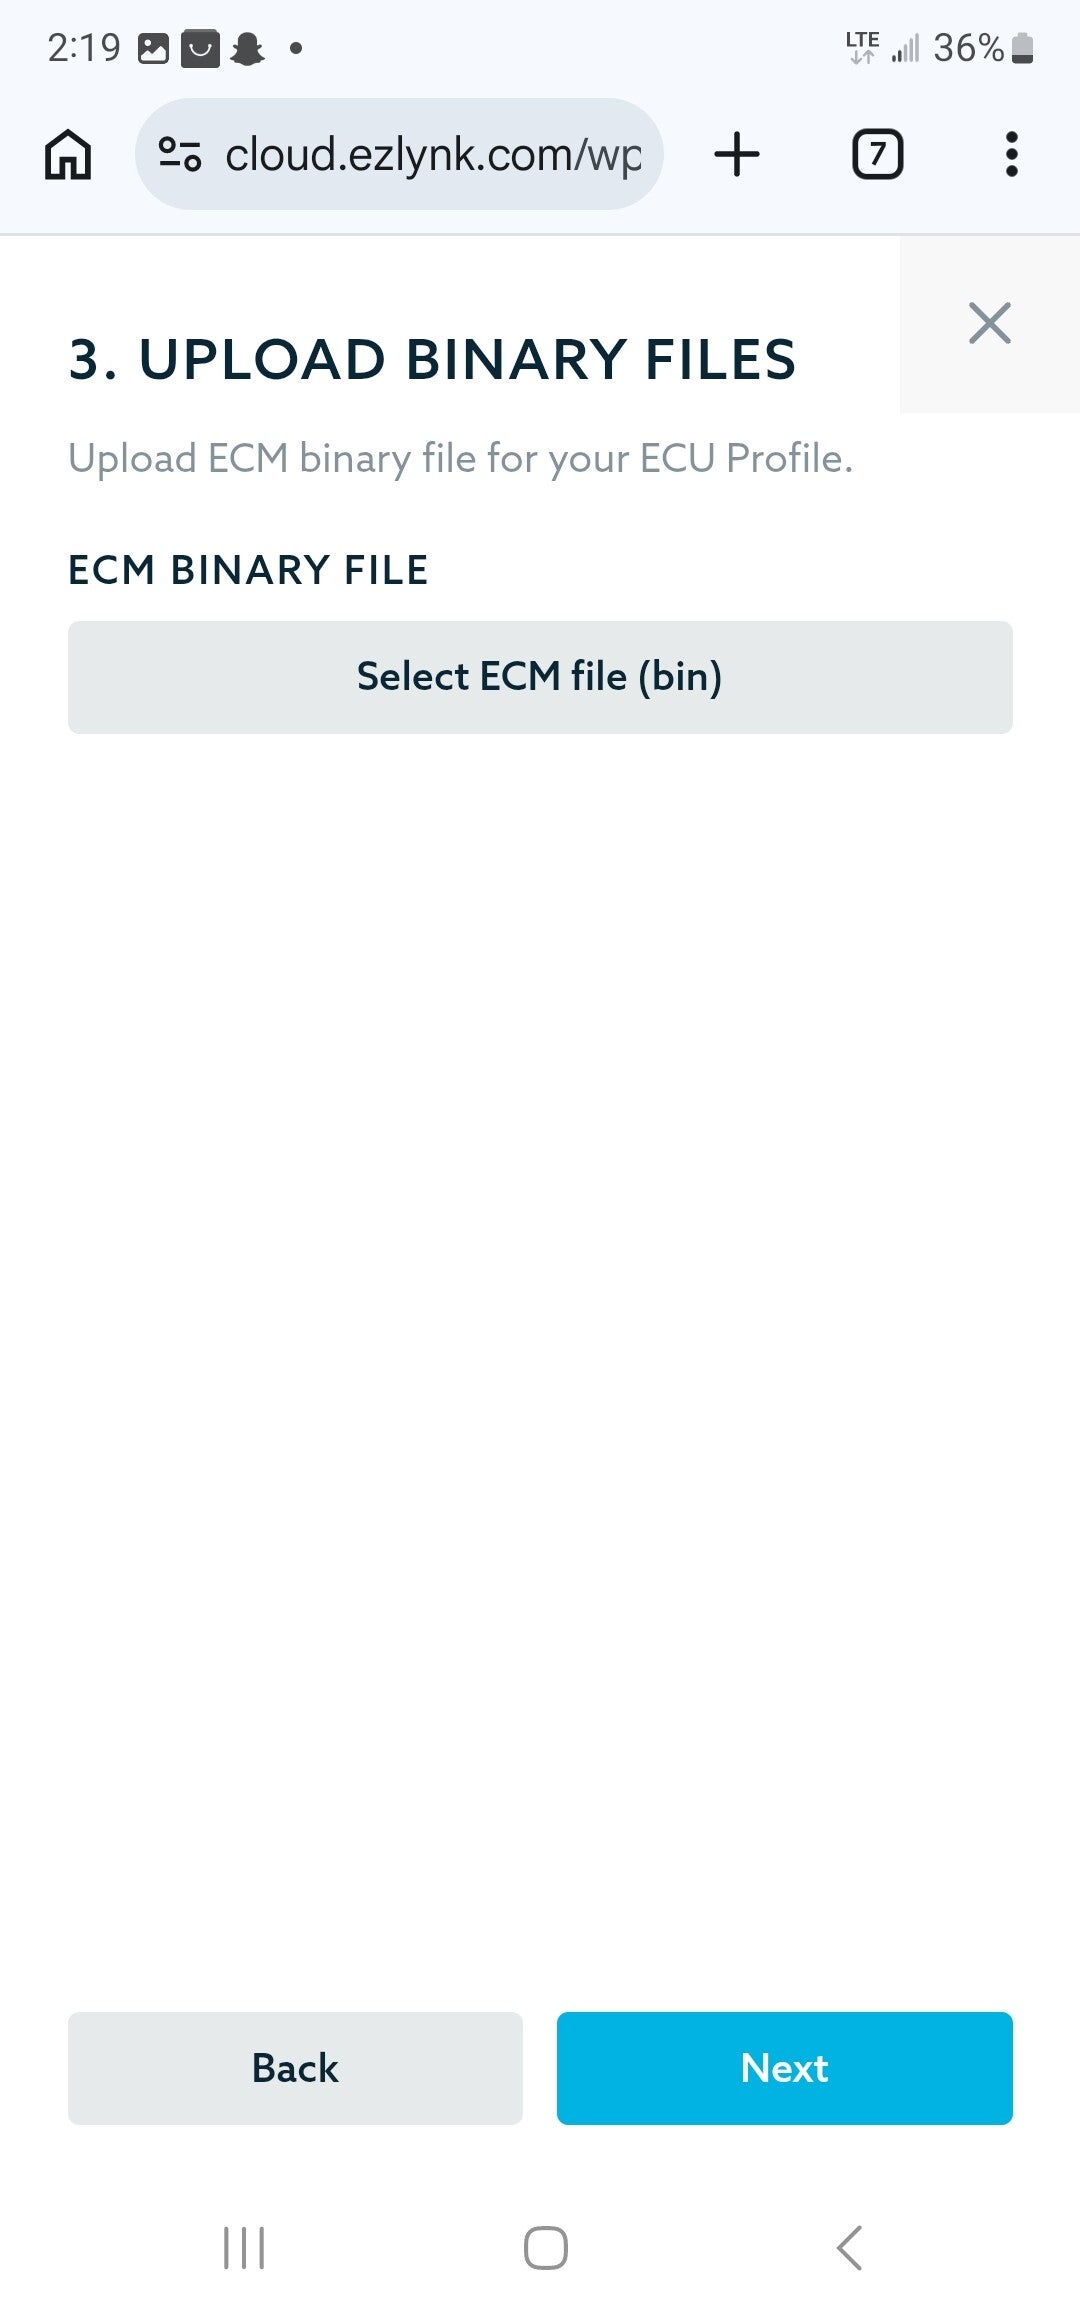
Now, upload your binary calibration files for the vehicle's computer modules. The built-in EZLYNK ECU editor will automatically verify that your file matches the Cal IDs. Next, you'll need to select whether the file is OEM or not, then click "Next" to proceed with the upload. This verification ensures compatibility and proper function.
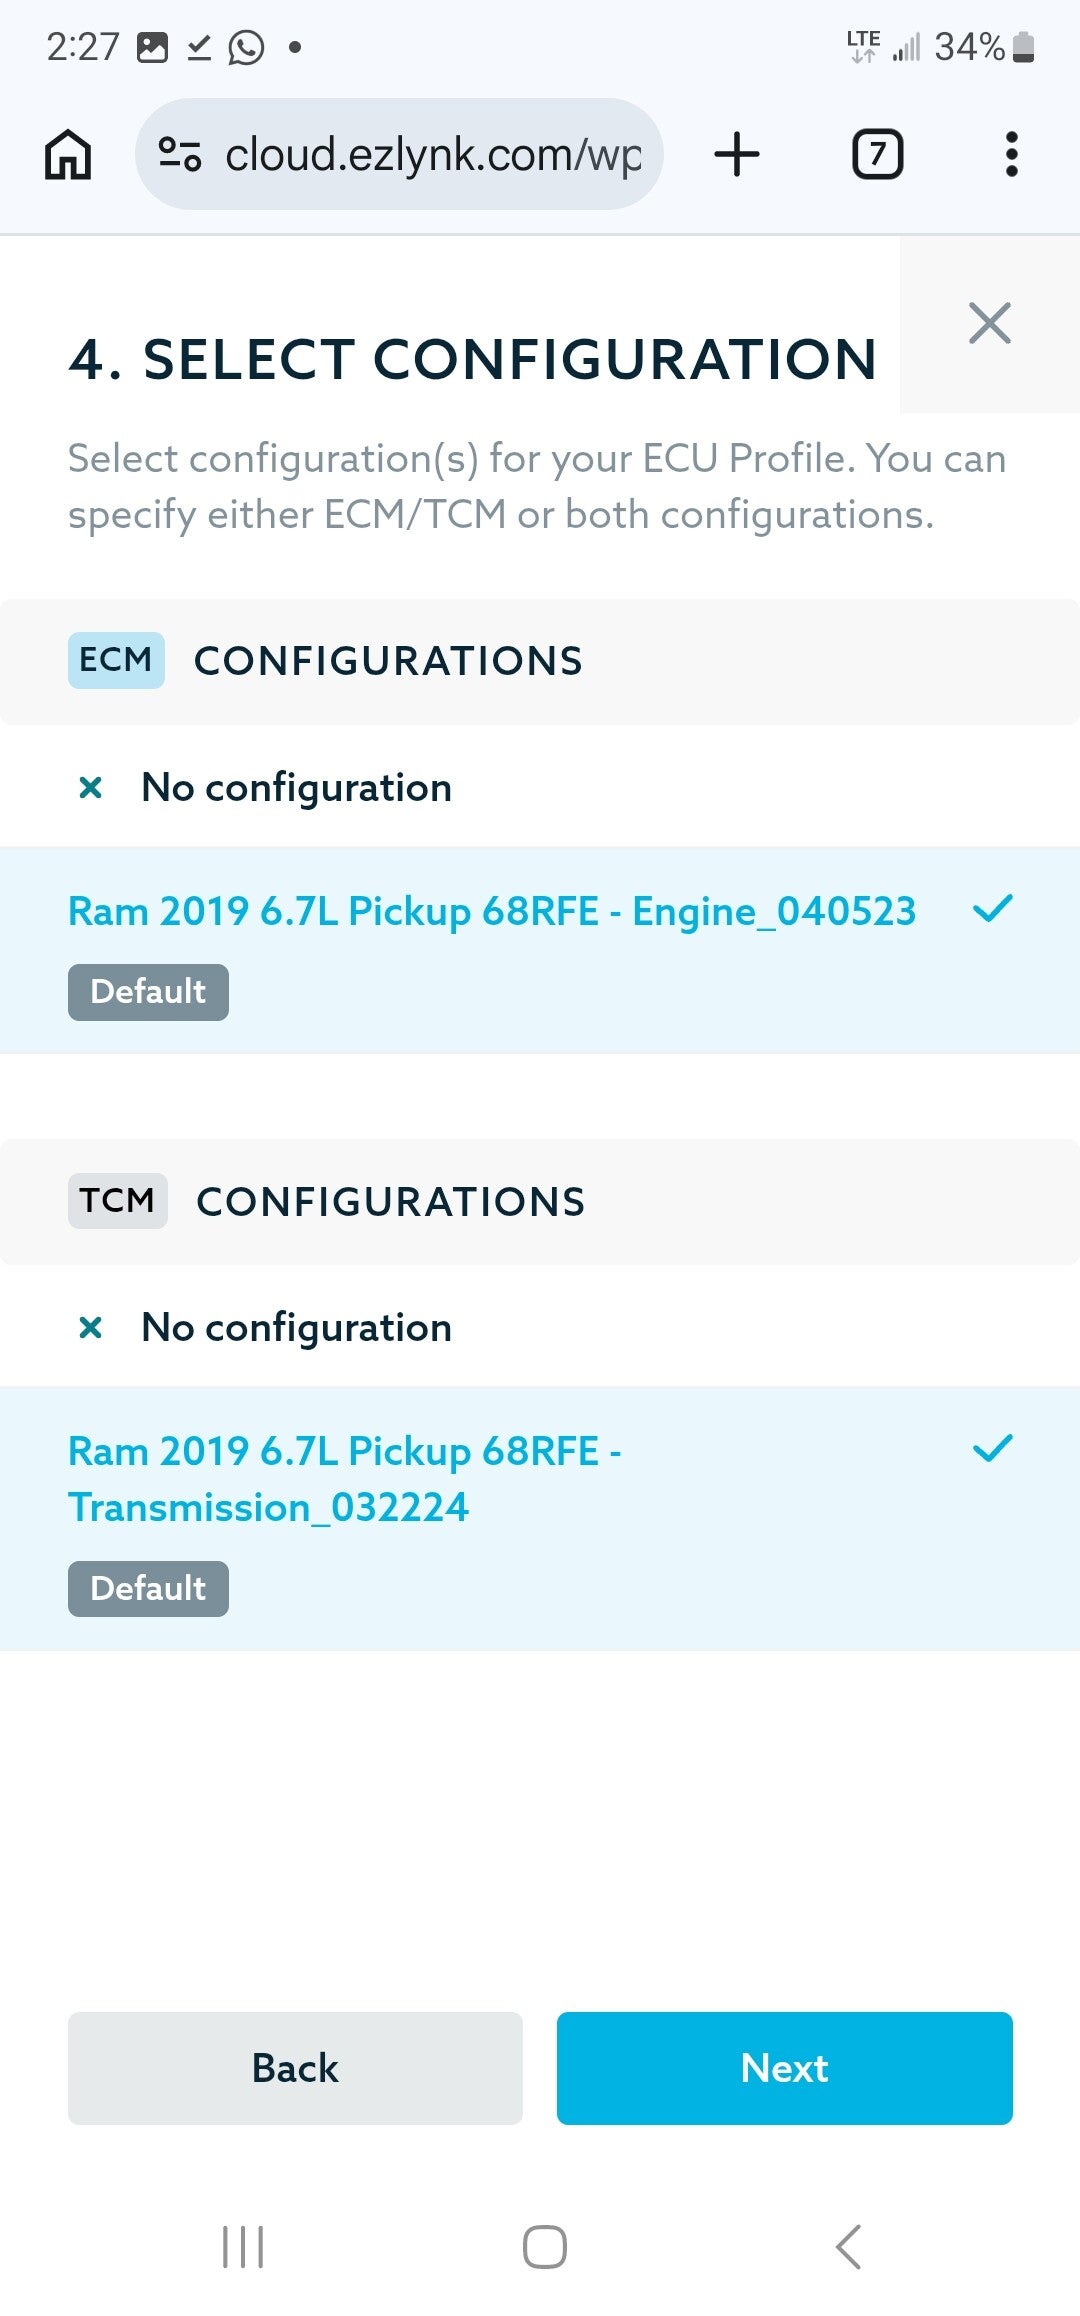
Step 4: Select configuration maps
Finally, select the configuration map that best suits your vehicle. Please note that not all maps may be editable on the cloud. In some cases, a configuration may not be available. Don't panic! This will not prevent the file from uploading or flashing. Simply select "No Config" and proceed. This final step prepares your file for deployment to your vehicle, resolving the common difficulty of loading and deploying the ECM calibration.